Quick Start - Grid Builder

This is your quick start guide to Grid Builder for Procreate.

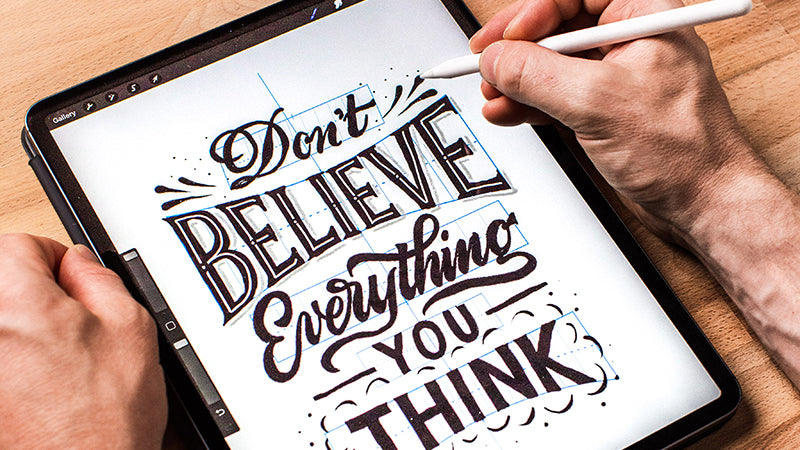
1. Select 1 of the 35 brushes from the Grid Builder folder. Tap on the canvas to place it. If too large for your canvas, adjust the top brush size slider.

2. Tap on the canvas to place a Grid. To move or adjust the size, click on the Transform tool and drag out any of the corner points.

3. Create a new layer for each individual Grid. Do this by opening the layers panel and clicking on the plus icon.

4. When stacking your Grids, emphasize certain parts by making them larger.

5. Help keep your lettering piece balanced by drawing a straight line down your canvas and use it to align each Grid using the top and bottom markers.

6. Once you’re happy with your layout, pinch together all the Grid layers to flatten it. Reduce the opacity of the flatten layer by clicking on the ‘N’ symbol.

7. Start sketching inside the Grids. Put each word on a different layer helps you to edit it later on. Keep refining till you’re satisfied.

8. Use simple shapes like dots, drops, stars and leaves to fill the space around words to balance out your design.


